184. How I Use Gouache - And Why I Love It
in Art Tutorial
Art Tutorial
Learn about my latest Skillshare class: A Beginner’s Guide to Drawing and Painting Water & Waves
Read More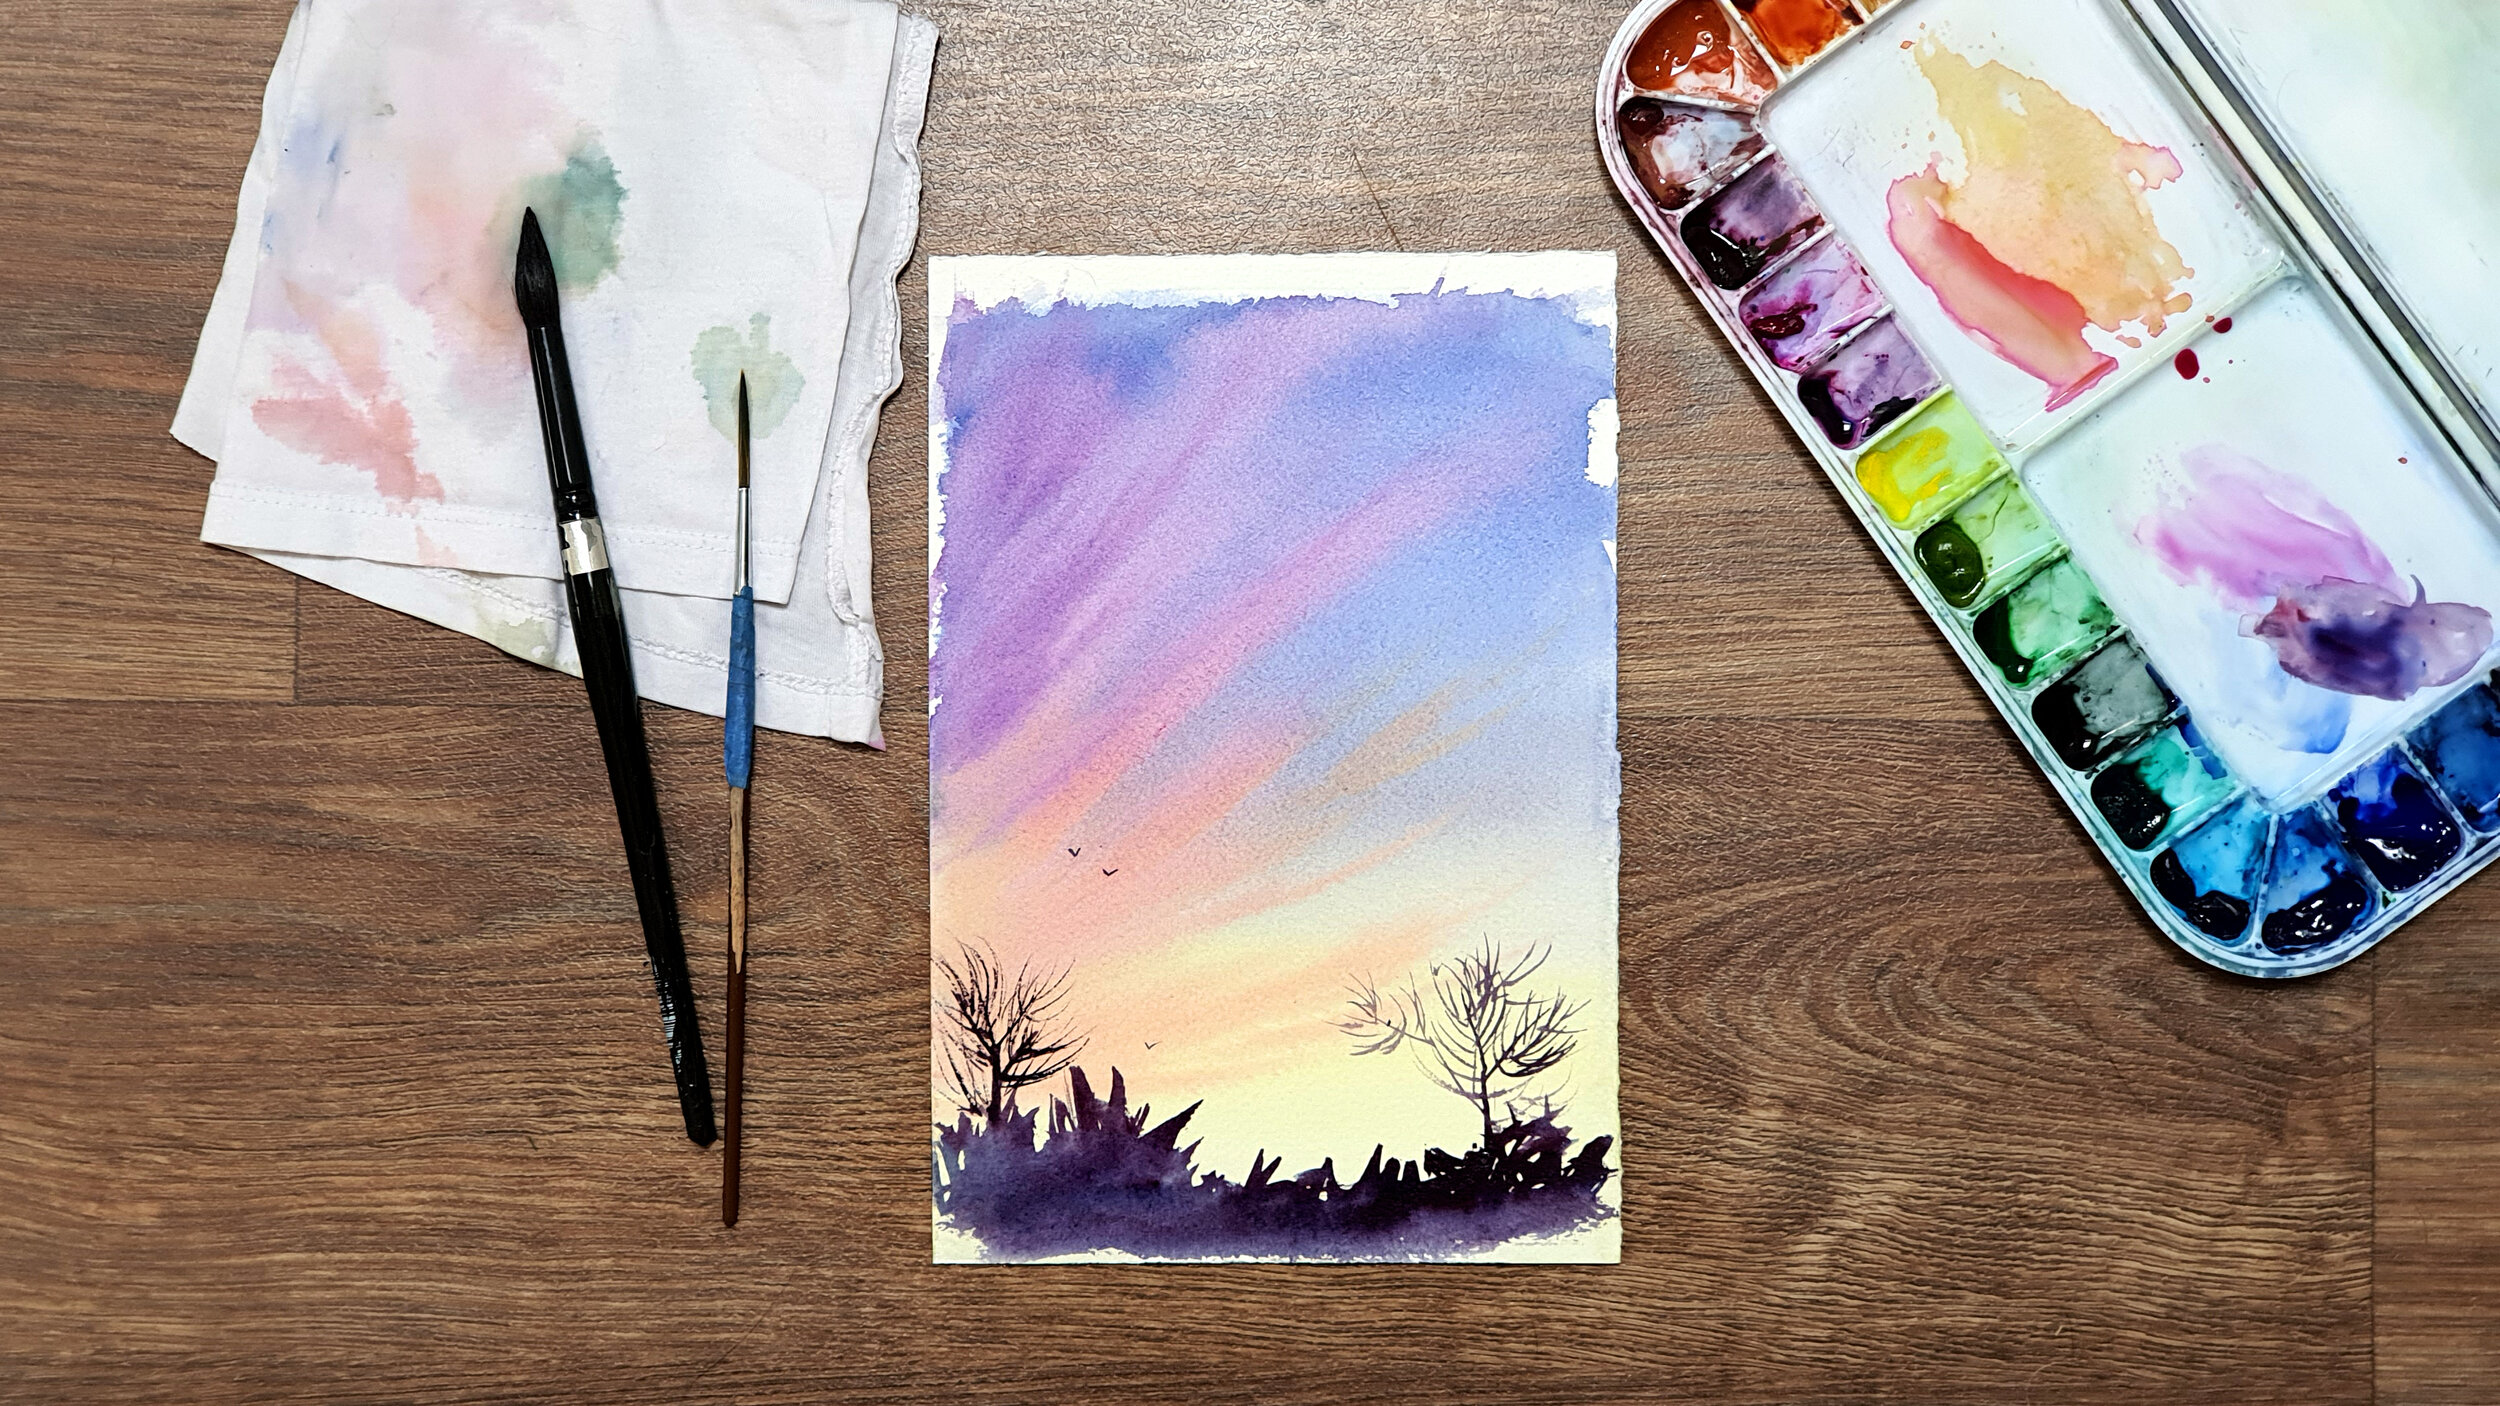
Learn about my newest class: A Beginner's Guide to Drawing and Painting Skies & Clouds
Read More
Learn about my latest Skillshare class!
Read More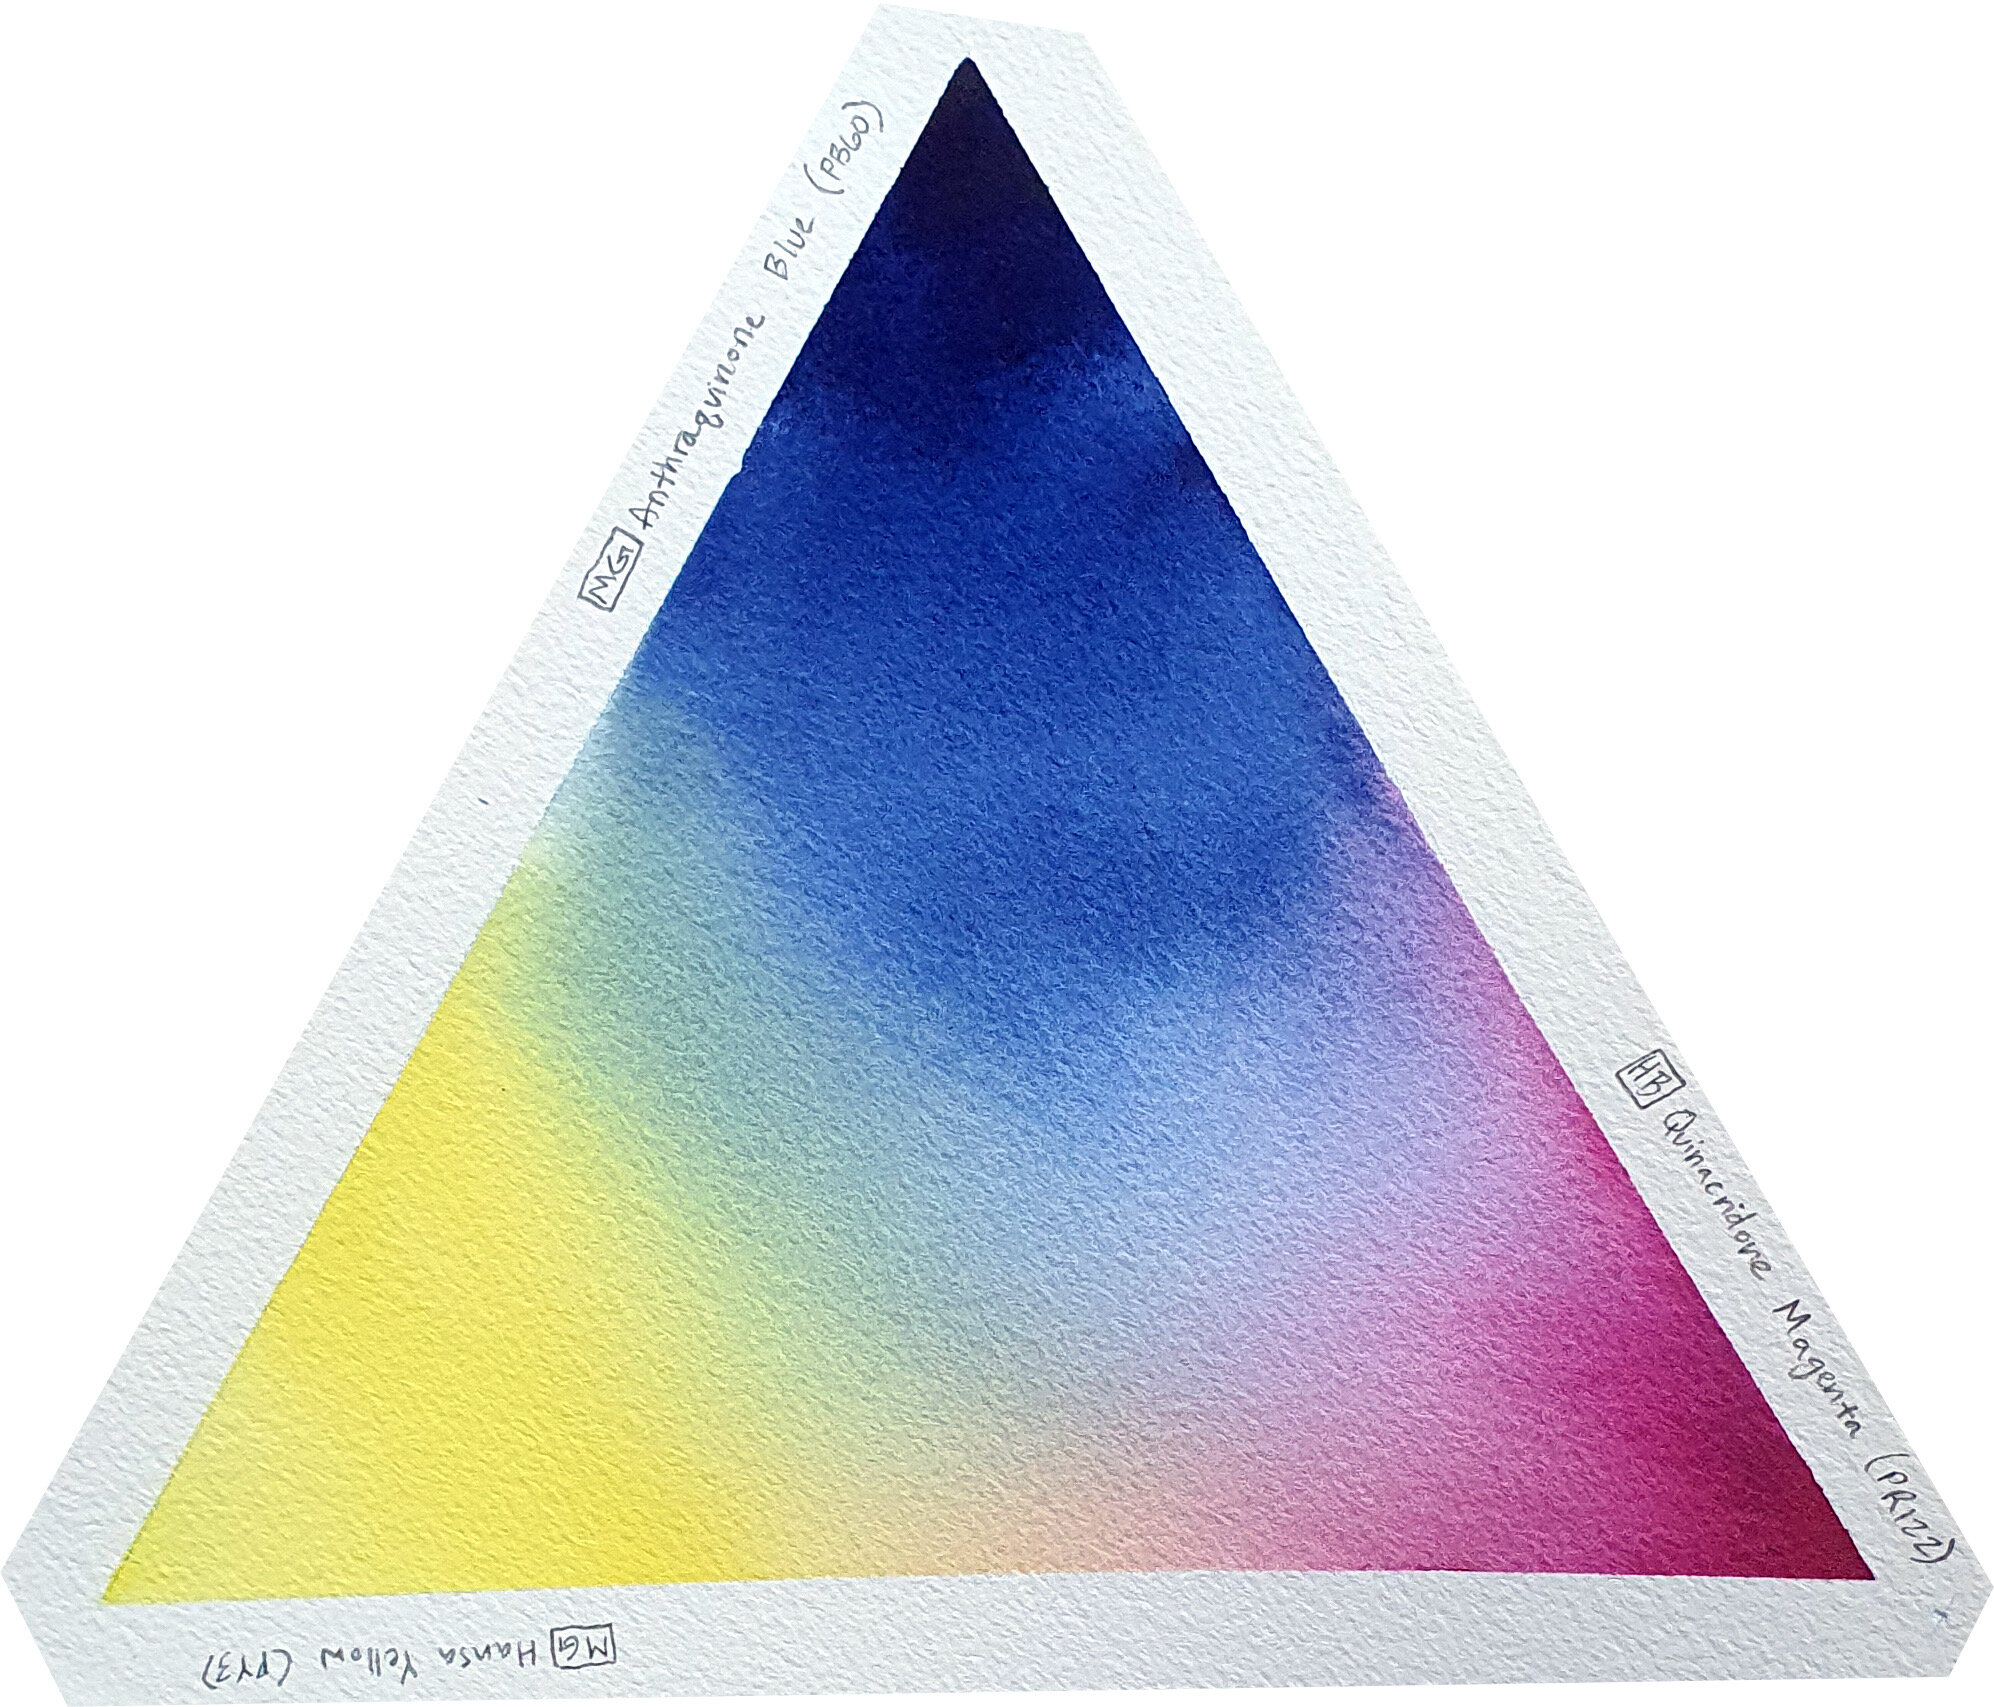
My reasons, process and results for selecting non-toxic watercolor paints.
Read More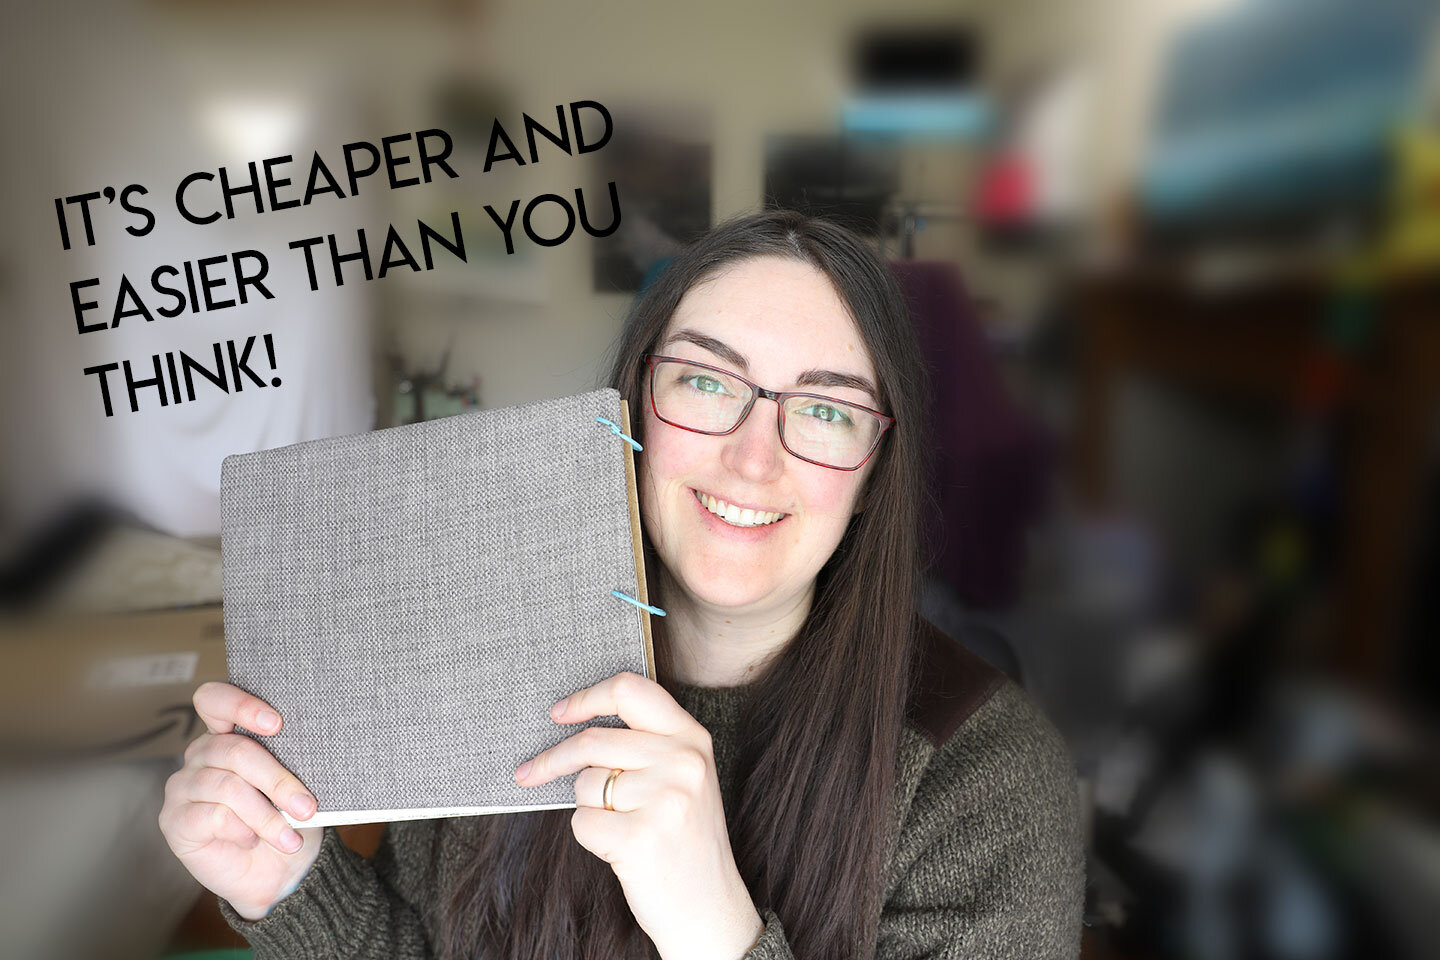
I spent how much making my own Arches Travel Sketchbook???
Read More
Check out my Skillshare class, get 2 months free and watch my tutorials!
Read More
There's no way around it - if you want to get better you have to put in the "mileage" - the time and effort it takes.
Read More
Discussing my first oil paintalong and finding joy in endless practice.
Read MoreTips, tricks, and ideas about how to use gouache.
Read MoreI know... I'm the worst! I have been so bad since returning to Denver about updating my blog and making videos.
In my defense, I've been REALLY busy with fulfilling Patreon orders, Paintalong tutorial (see results here), streaming, writing my book, studying, collaborations, commissions, and continuing the quest of selling/giving away my stuff.
All good stuff, business-wise.
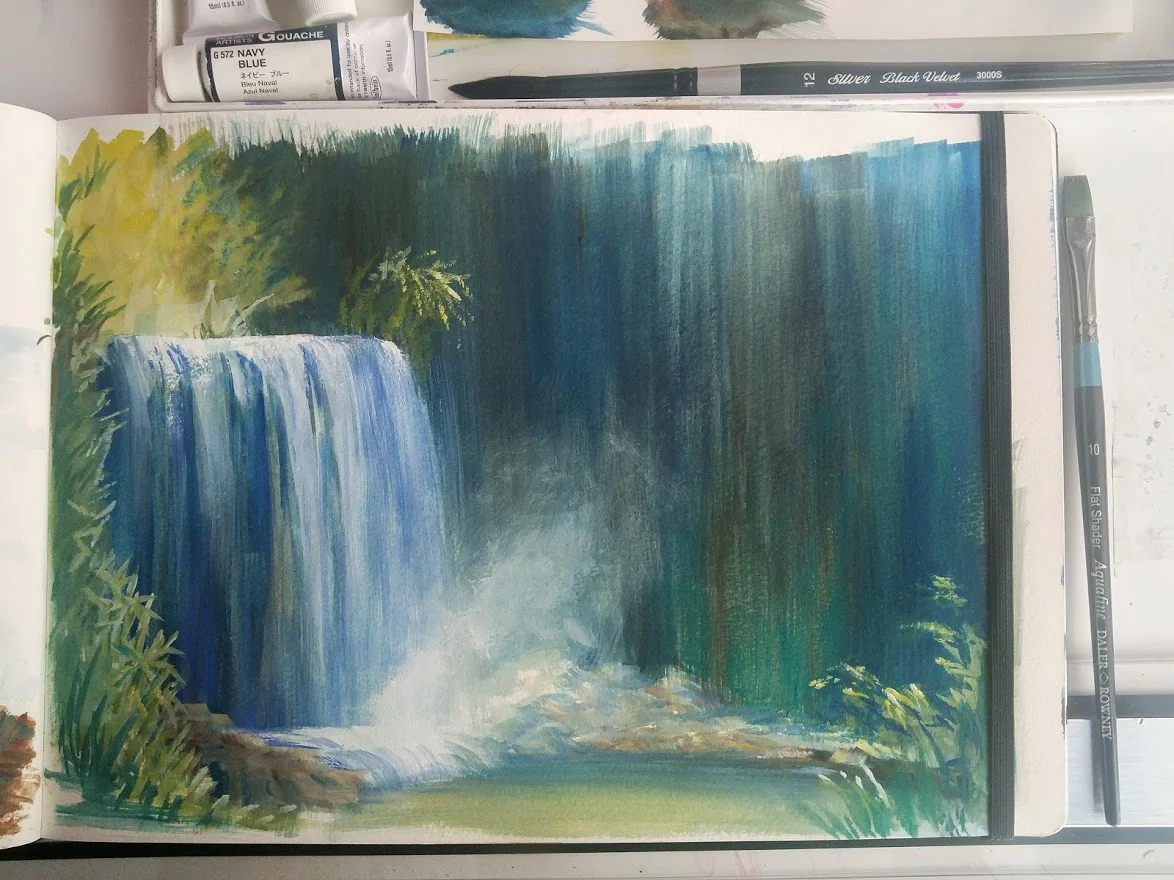
So here's a new tutorial video for those of you who are learning watercolor!
In this video I talk about the benefits (and tricks) to painting on a small scale - something I do daily. I go through about 100 watercolor postcards a month, and it's VERY different than painting large. They are so great for studies, giveaways, gifts, etc. and really force you to look at minimizing a landscape to it's base elements.
When I'm painting these, I often ask myself "What are the minimum amount of brush strokes required to bring the landscape to life?" And what can I actually fit without making it too "busy?"
And just for fun, here are a couple images from recent projects and work around the studio.
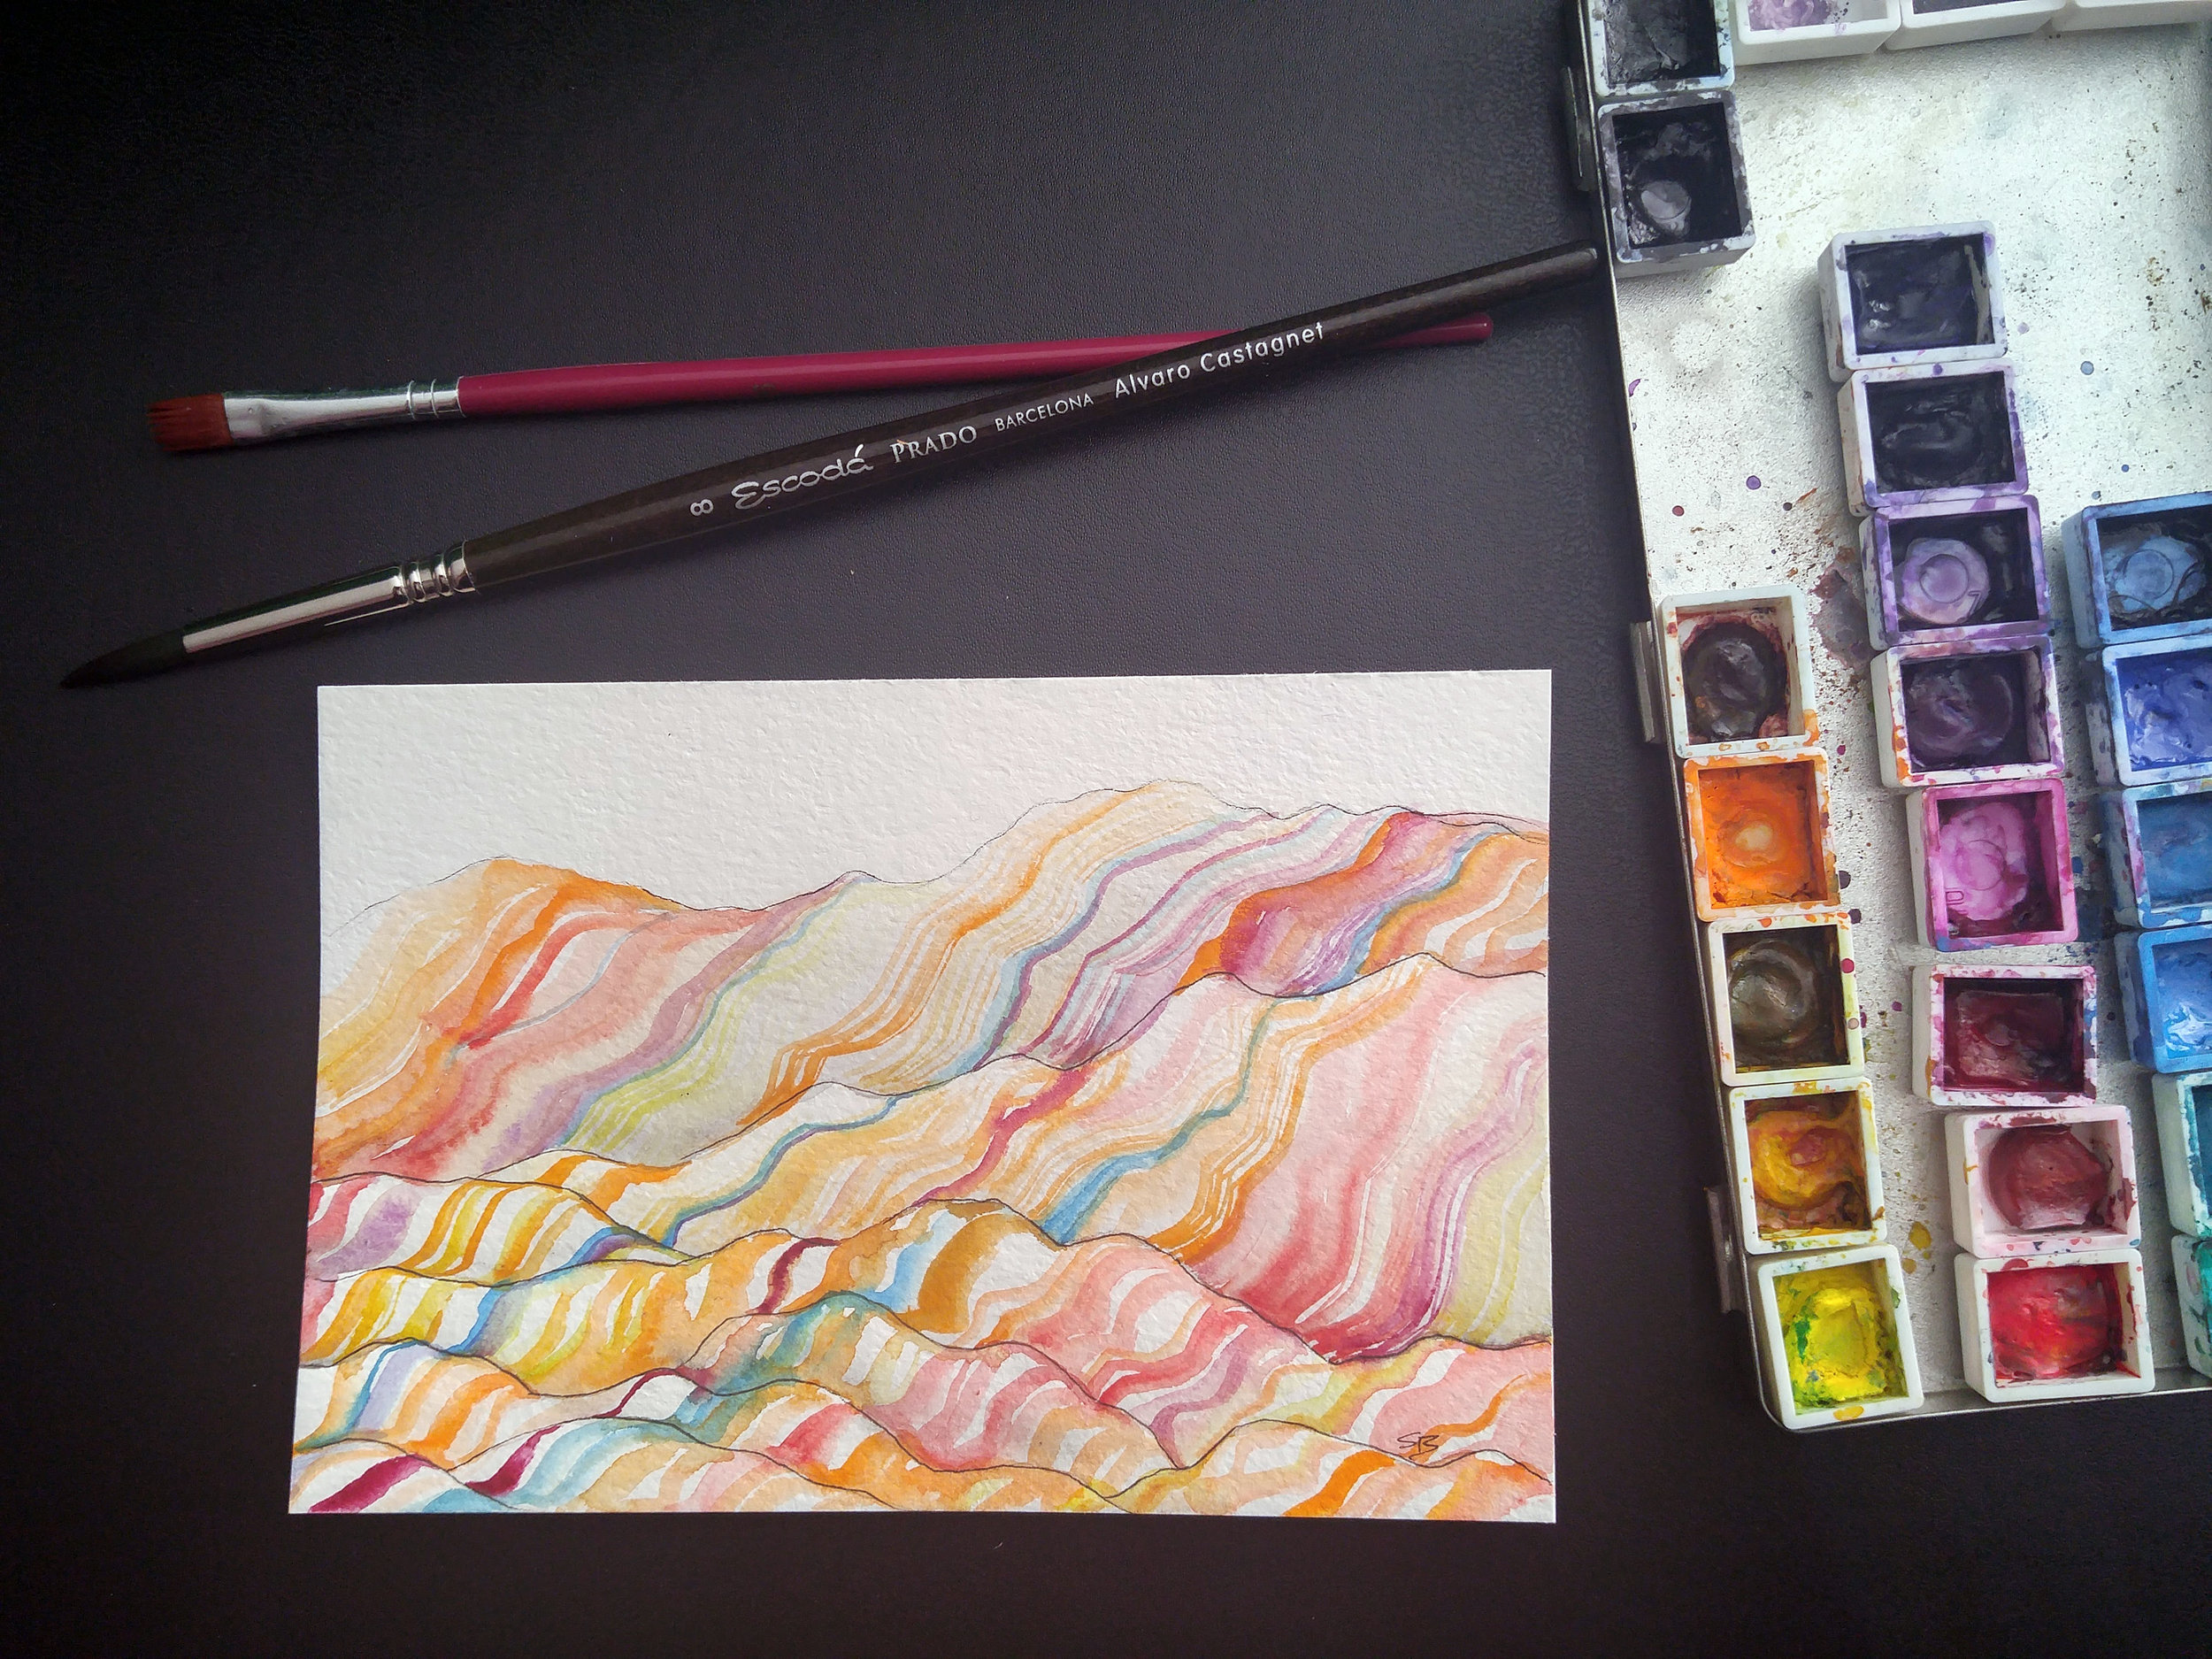
Chinese Rainbow Mountains... probably one of the hardest mountain ranges I've ever painted. It feels so abstract!

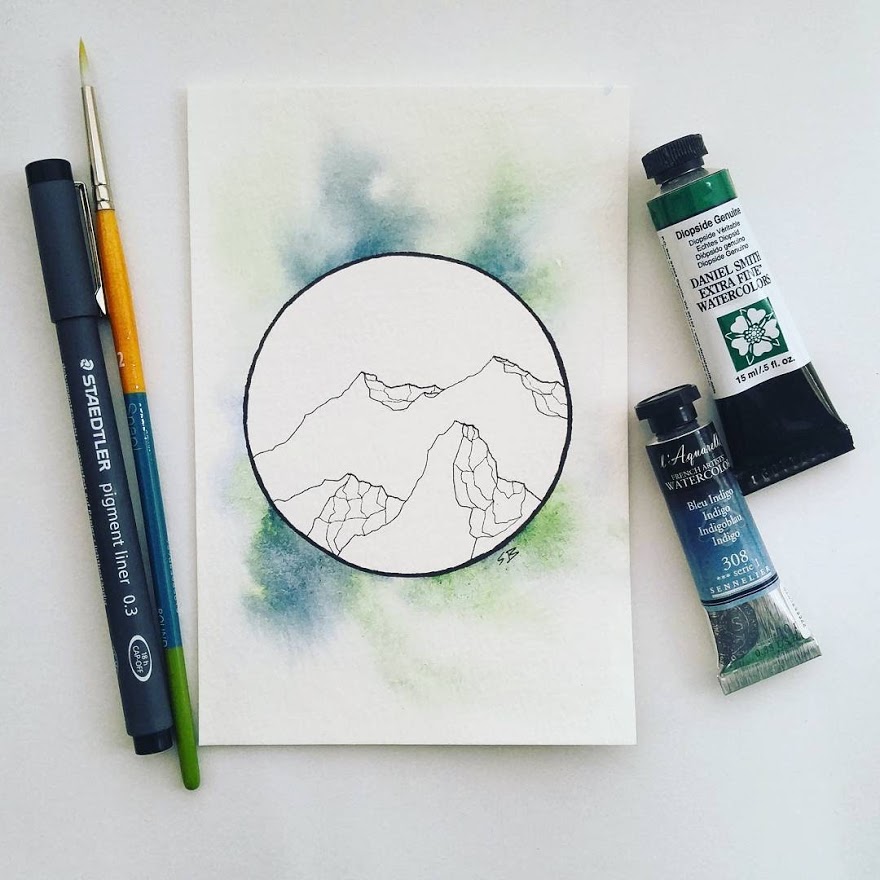
Dolomites, Italy (practicing minimal brush strokes)
The theme for May Patreon postcards!
Plus so much research, writing, and illustrations for my book! If you want to find out more about that, visit the official website and see previous blog post!
Good morning everyone! Here's my latest YouTube video which showcases my painting of Glen Nevis Gorge:
Glen Nevis Gorge, 22x15" watercolor on Bockingford Rough paper
The video is a narrated time lapse which includes tips and technique for how I painted this!
Enjoy! :)
I'm super excited to announce the launch of a new project!
This is my "new" YouTube channel that will be the home to weekly art-centric videos such as tutorials, sketches, and product demonstrations!
This is the first-ever video I've made specifically for YouTube, and I hope they will get better in time!
Documenting your work is so important, whether you are a hobbyist or a full time artist. You use images for your portfolio, shop, and social media. Having consistently good images will put you and your work in a better light (pun)!
For those of us who are trying to build our business and make a living through our artwork, it's essential that we make it look as professional as possible!

First, decide between using a camera to capture your work or a scanner.
For me, that was an easy choice. I come from a photography background, so I already had the knowledge and camera required for good photos. But even more importantly, I often paint very large - sometimes up to 4 feet paintings, and those cannot be scanned!
If you want to scan your artwork, but you don't own a large scanner, you'll need to find a local print shop who can scan large artwork, and they have limits (and it can be pricey).
So this information is for anyone interested in photographing your artwork. This is MY process, and it may differ from other artists, but I hope it helps! Everything in my portfolio was a photo taken with my DSLR and cropped/adjusted in Photoshop after.
Anytime I say "canvas" I am referring to your artwork, whether it's a painting, drawing, or sculpture!
There are lots of factors to consider when documenting artwork, but lighting is the main challenge. Regardless of your equipment, if you don't understand what good lighting is, your photos will suffer.
USE NATURAL LIGHT WHENEVER POSSIBLE (But not direct sun)
Each type of light (natural, incandescent, LED, fluorescent, etc) has a different color or "temperature" (warm vs. cool)
Natural light falls in the middle, giving you a very neutral color and most accurately representing your artwork's colors.
Most of us have incandescent or warm LED bulbs in our home, which will cast a warm glow. If you absolutely cannot take photos using natural light, using the artificial light available to you is OK because color can be fixed in post production (to an extent). However what is not OK is low light, or using flashes that create a glare on the artwork. Sometimes, the glare isn't just a white reflection, but a color shift within your shadows. This can be hard to notice until you get into post production, and it's really annoying to fix!
To avoid reflections and glare on your canvas, you need to use indirect lighting. This means making sure there are no direct sources of light hitting your canvas. You can do this by angling your canvas in a certain position with your room. Fill the room with as much light as possible. Don't point light directly at your canvas. Begin angling the canvas and really look at the shadows. If you notice they are "lighter" than they should be or have a slightly different color, this means there's a glare and it WILL show up in your photos.
Keep angling until you find a position that works! Remember to avoid casting a shadow on the work from your body, camera or tripod (I rarely use a tripod).
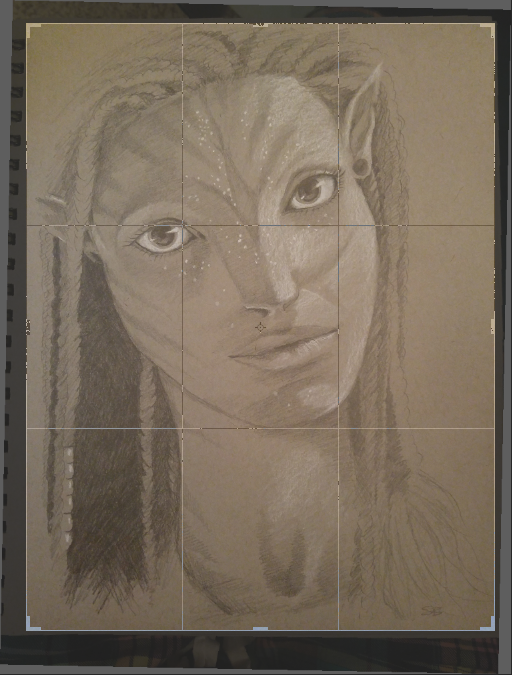
Don't take the photo from a harsh angle (from the side). Position the camera DIRECTLY ABOVE the canvas, keeping in mind that you will need to crop the image. Cropping requires straight lines.
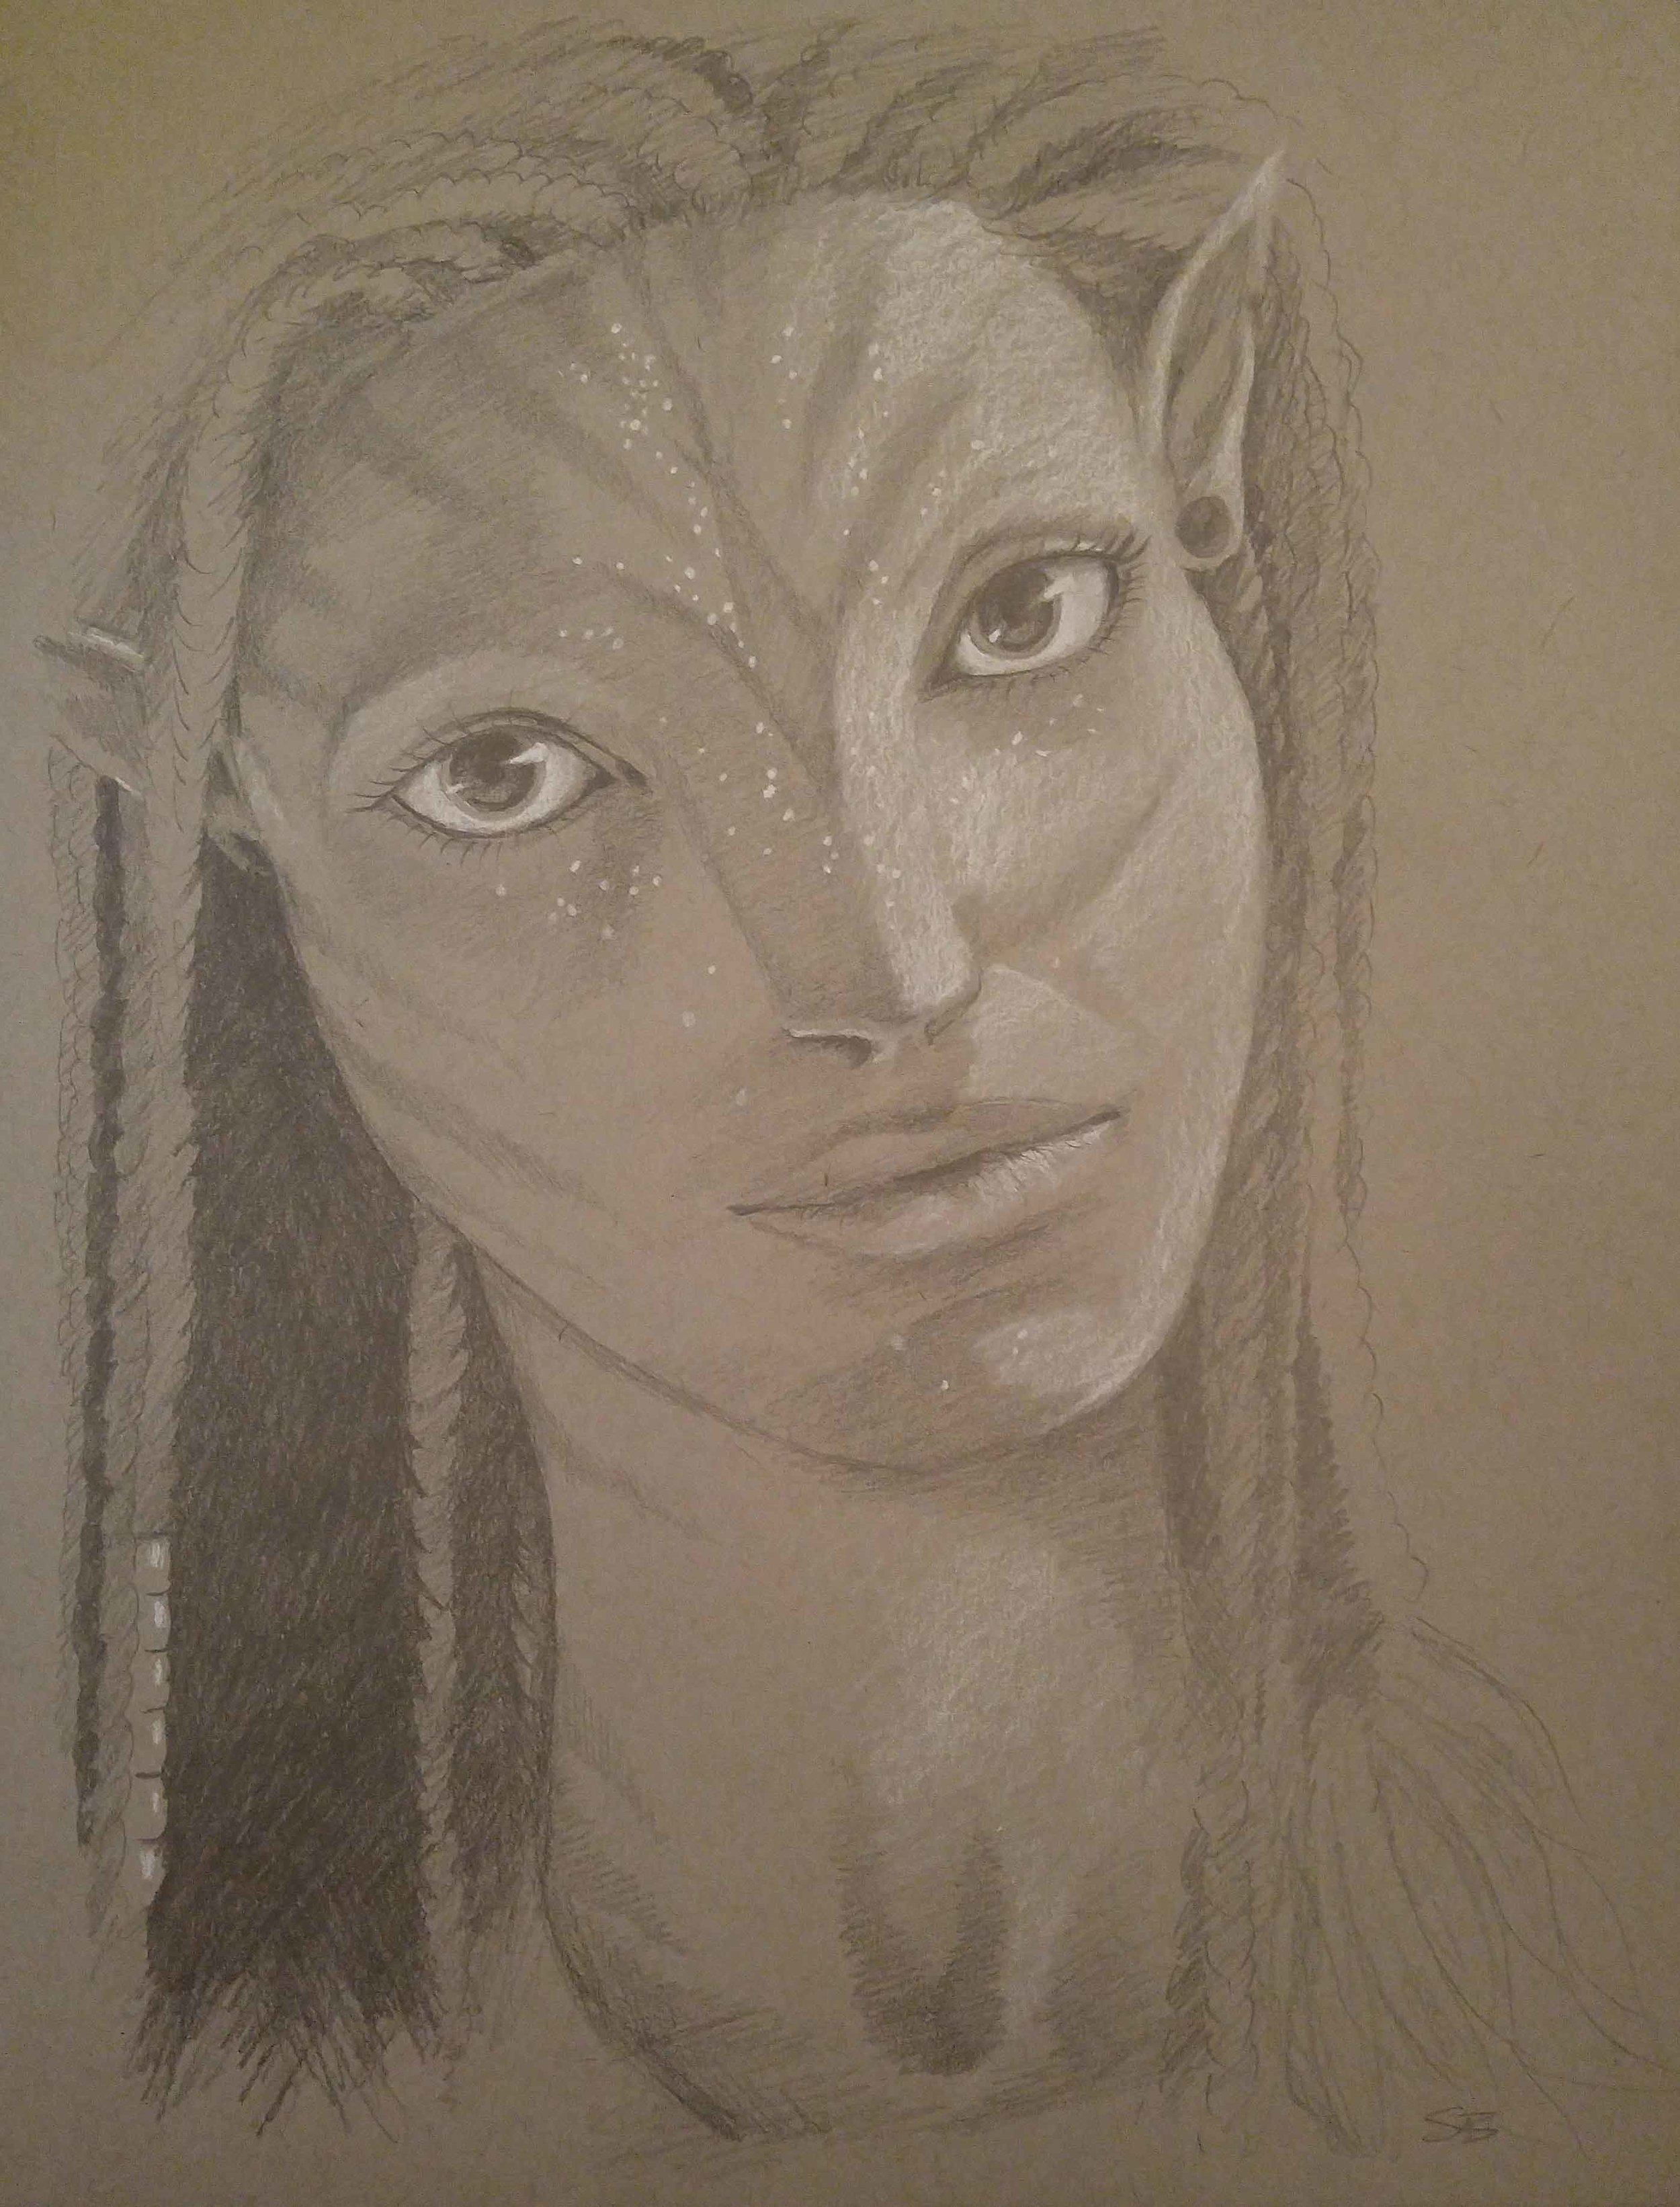
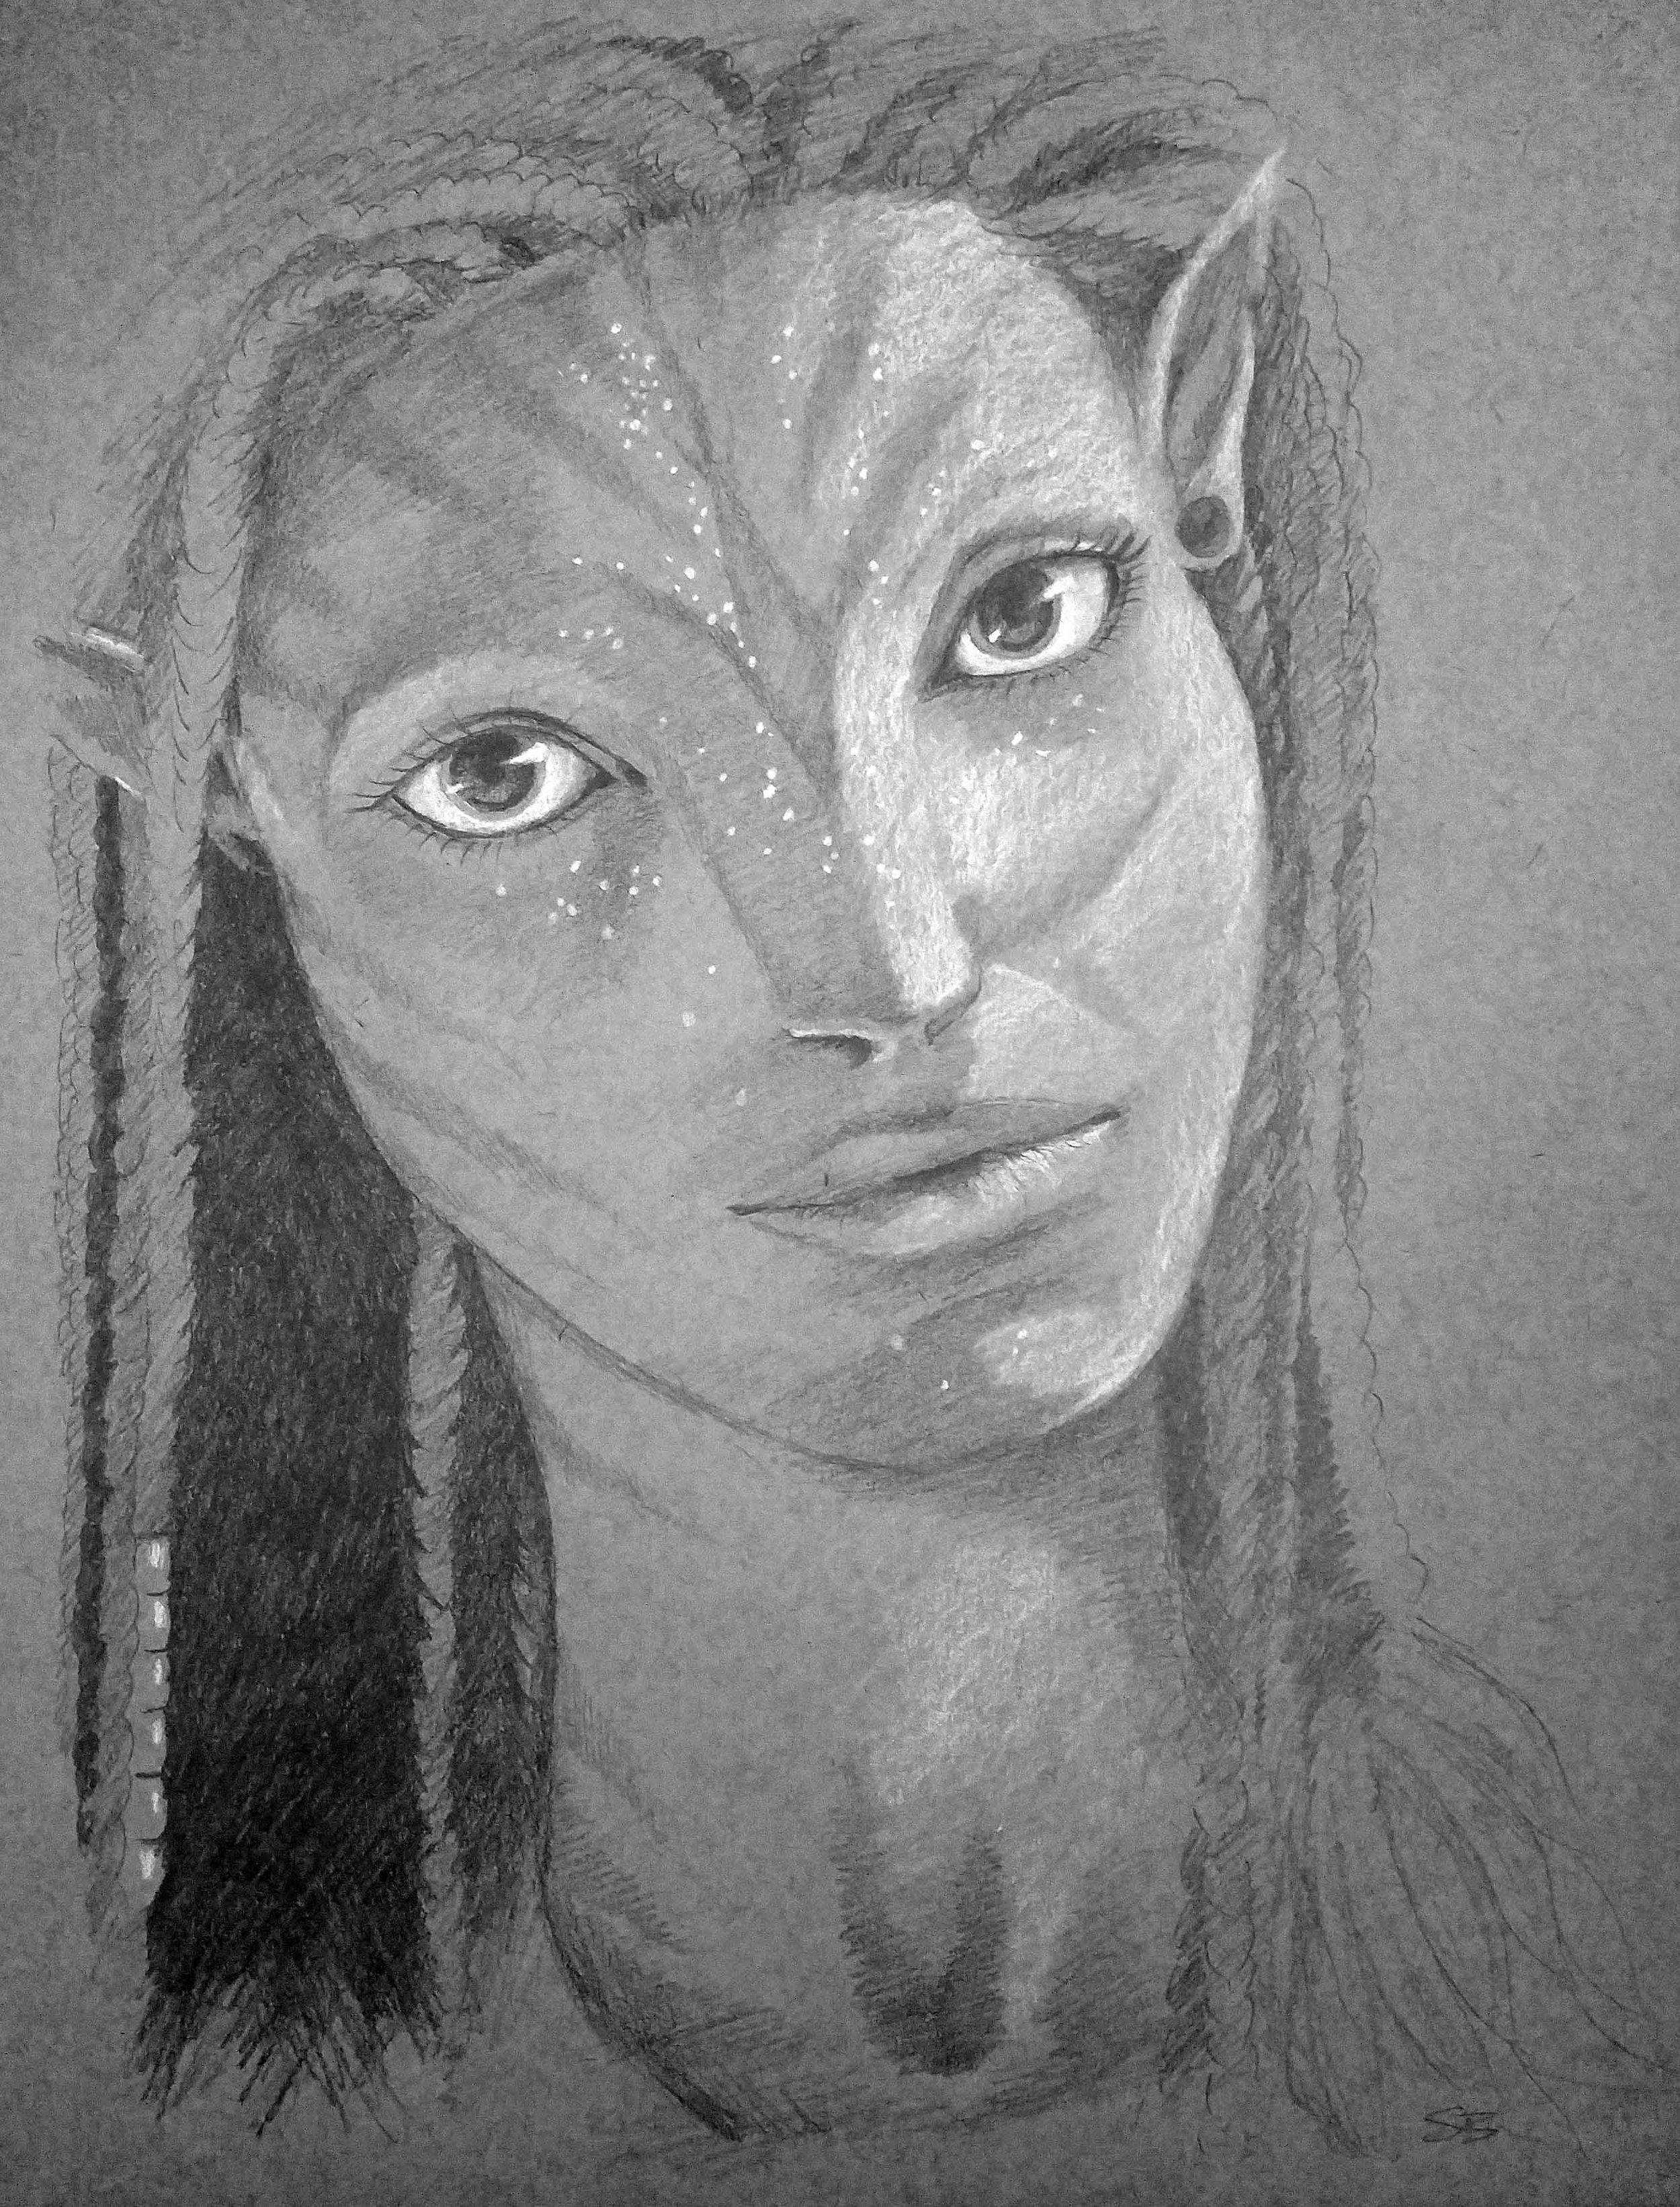
The following examples were taken with my phone (LG G4):
Final image after adjustments.
The last image shows what it looks like after being cropped and the contrast slightly increased.
This painting was not complete at the time, but I wanted to use it as an example because it had a variety of colors, contrast, and texture. These things were captured well with my phone and the final image is perfect for twitter or instagram, or even an online portfolio!
I always shoot in RAW format (not jpeg) whenever possible.
Most cameras, even point-and-shoots and some phones, have the option to change what file type your images are. RAW format allows you to adjust native settings of the image like exposure, white balance (color), and much more in post production, and it gives you a higher quality image.
Canon: In your camera menu, scroll to the "Image Quality" function and choose RAW.
Nikon: In your camera menu, scroll to "Image Quality" function and choose NEF (RAW).
Keep in mind this will increase your file size, sometimes up to 30mb per image. However it provides the purest, largest, highest quality image, which will allow you to make large poster size prints of your images later if you want!
If you don't have the option for RAW, use the highest jpeg setting available.
Use a high ISO in order to allow as much light into the sensor as possible. If your shadows are "grainy" that means you need more light in the room and a lower ISO (increasing the ISO too much will cause grain).
MAKE SURE THE PHOTO IS IN FOCUS! Stay as still as possible, and take the image directly from above so that every part of the canvas is in focus.
I have the LG G4 phone, and I chose it specifically for the camera. It allows manual settings as well as RAW format! It takes incredibly crisp images and does a great job handling low light.
You can take perfectly decent photos for your portfolio and social media with your camera phone.
(See above examples)
The area that it lacks is usually resolution/file size. If you plan on selling high quality prints of your work down the line, you'll need very high resolution, large files which phones don't always provide. Just keep that in mind.
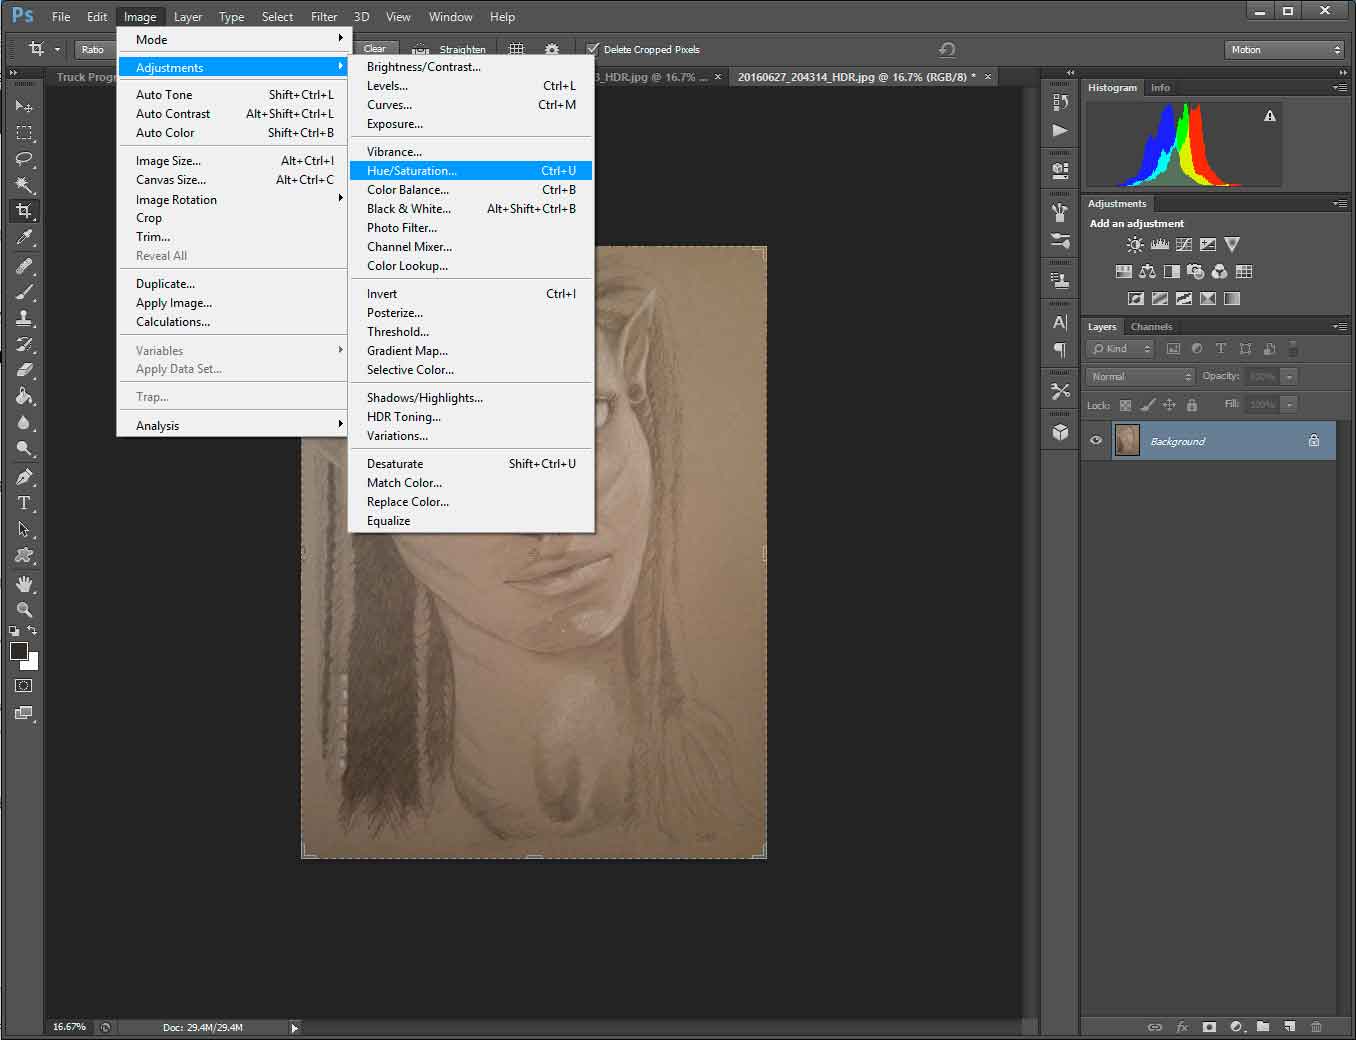
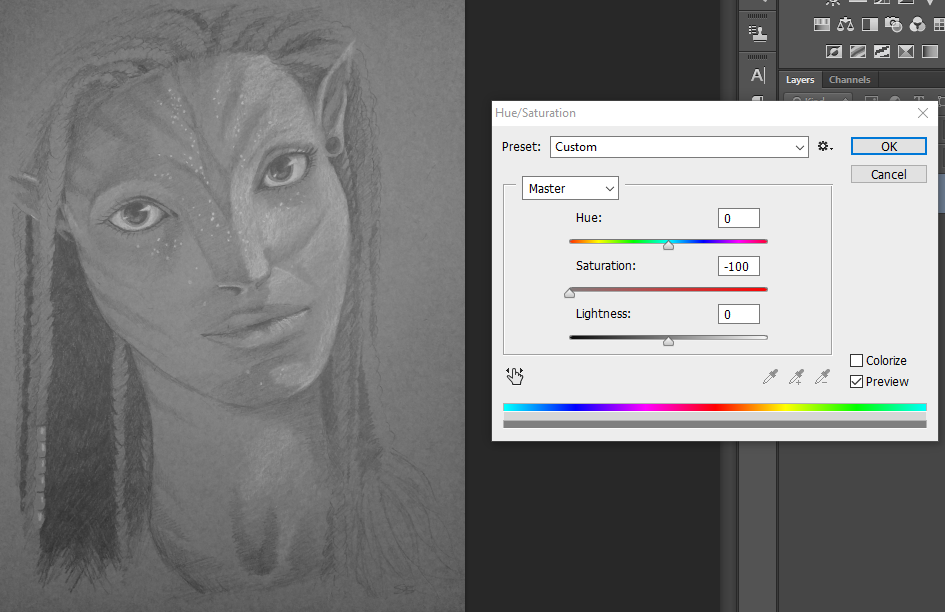
After you take the photo, you will need to make adjustments and crop the image to match the borders of your artwork.
I use Photoshop CS6, but you can find other photo editing software out there. Just make sure it allows you to edit RAW images if you use that setting.
When you open a RAW file, it will first open in Adobe Bridge. This allows you to adjust the native settings of the image like exposure and color. If you have a jpeg, open it directly in Photoshop or whatever software you have. You can still adjust these settings in a jpeg to an extent.
The main things I do are:
Like I mentioned before, a lot of times using a phone to capture images of your work for social media is perfectly fine, just try to keep lighting, angle, and quality in mind! The more you post consistently good quality images, the more your work will attract others. Posting poorly lit, horribly yellow, or grainy photos of your work just makes the art and your brand look BAD! Give yourself the best chance possible by taking a little extra time and pay attention to the details.
Progress Pics are an excellent way to show off the unique aspects of a medium, whether it's painting or drawing, or whatever! People love progress pics!
Instagram currently offers the choice to upload multiple images to one post, so you can show individual progress photos or closeups of your piece.
Note: For the multiple photo feature, the app auto-crops them to a square, so make sure you take the image from far enough away/the correct angle to fit within a square.
Twitter allows you to upload 4 images at a time, which is also an excellent way to show details or progress shots.
You can also have fun and get creative with your compositions.
Multiples or closeups don't have to be boring!
If you have any specific questions, please message me or leave a comment below! I'd love to help you reach a level of quality you are proud of!
Every time I do another Paintalong, I go through such a rollercoaster of emotions!
I'm extremely nervous beforehand, mainly because I suffer from performance anxiety.
During, I'm incredibly focused and turn into a "teacher" - which I have no background in, but people tell me I'm good at it.
After, I'm super inspired, relieved, and feel a swell of pride when I see what my participants created!
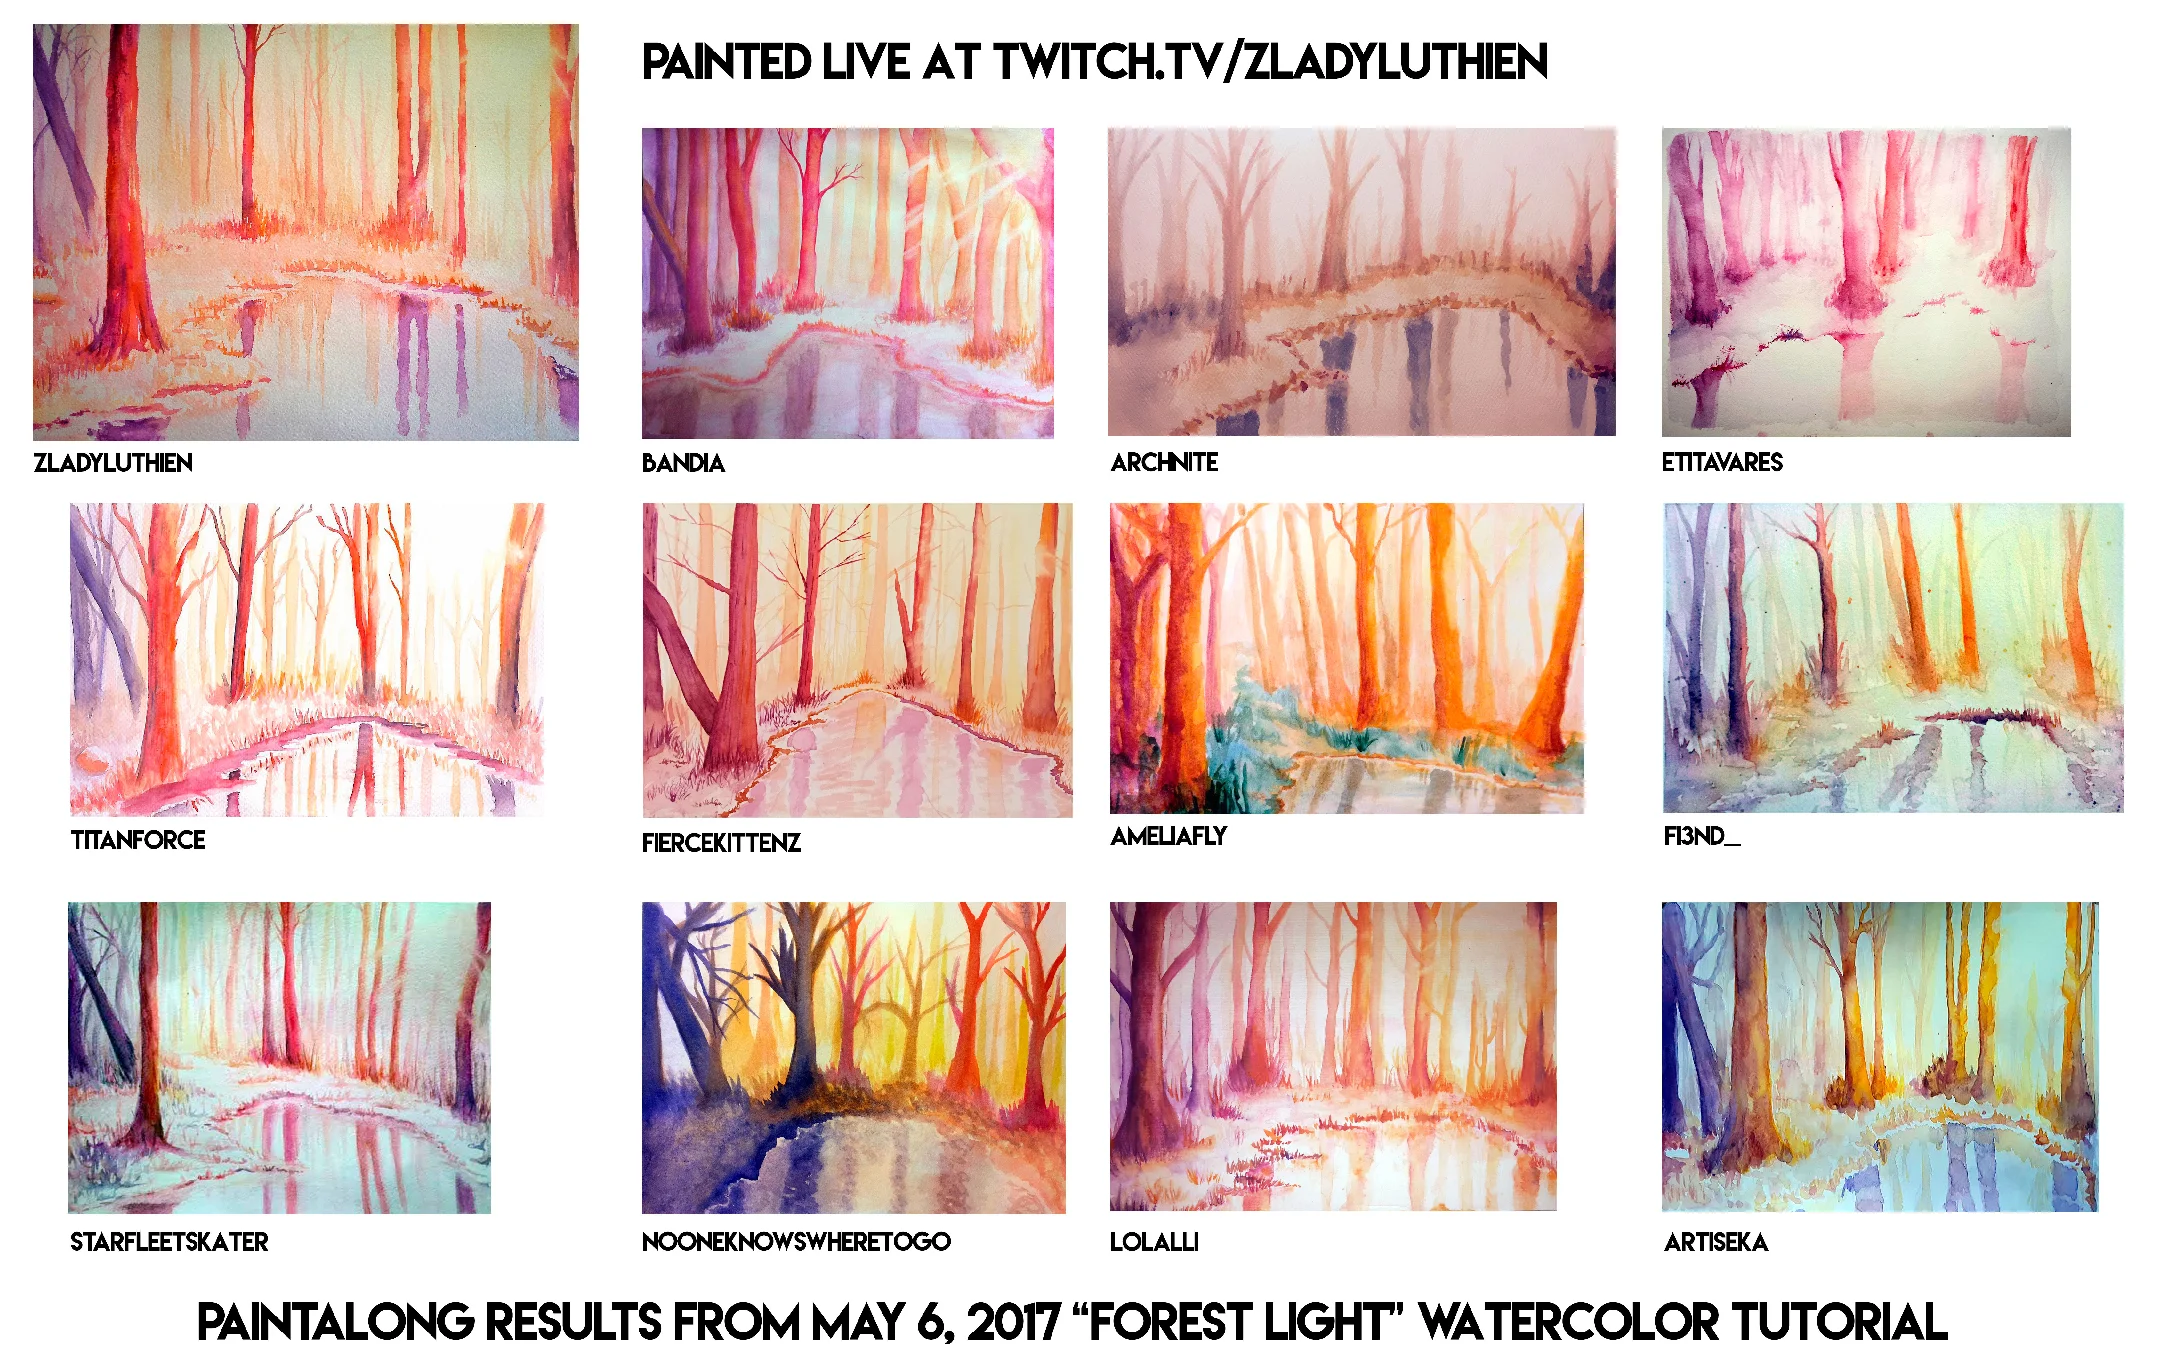
Saturday's Paintalong, which was the 8th time, was no exception! This was one of the highest-attended sessions. More than 15 people participated, and 14 of those sent me their results.
I"M SUCH A PROUD MAMA!
I teach these watercolor tutorials live on my Twitch channel once a month. They are free and open to anyone! Most people who paint along are complete beginners.
These happen because of my Patreons! Each month we meet the milestone goal, we do the Paintalongs. I'm so thankful for the support, this is one way I give back.
If you'd like to watch any of the 8 watercolor tutorials, become a Patreon of $5 or higher and you'll get instant access!
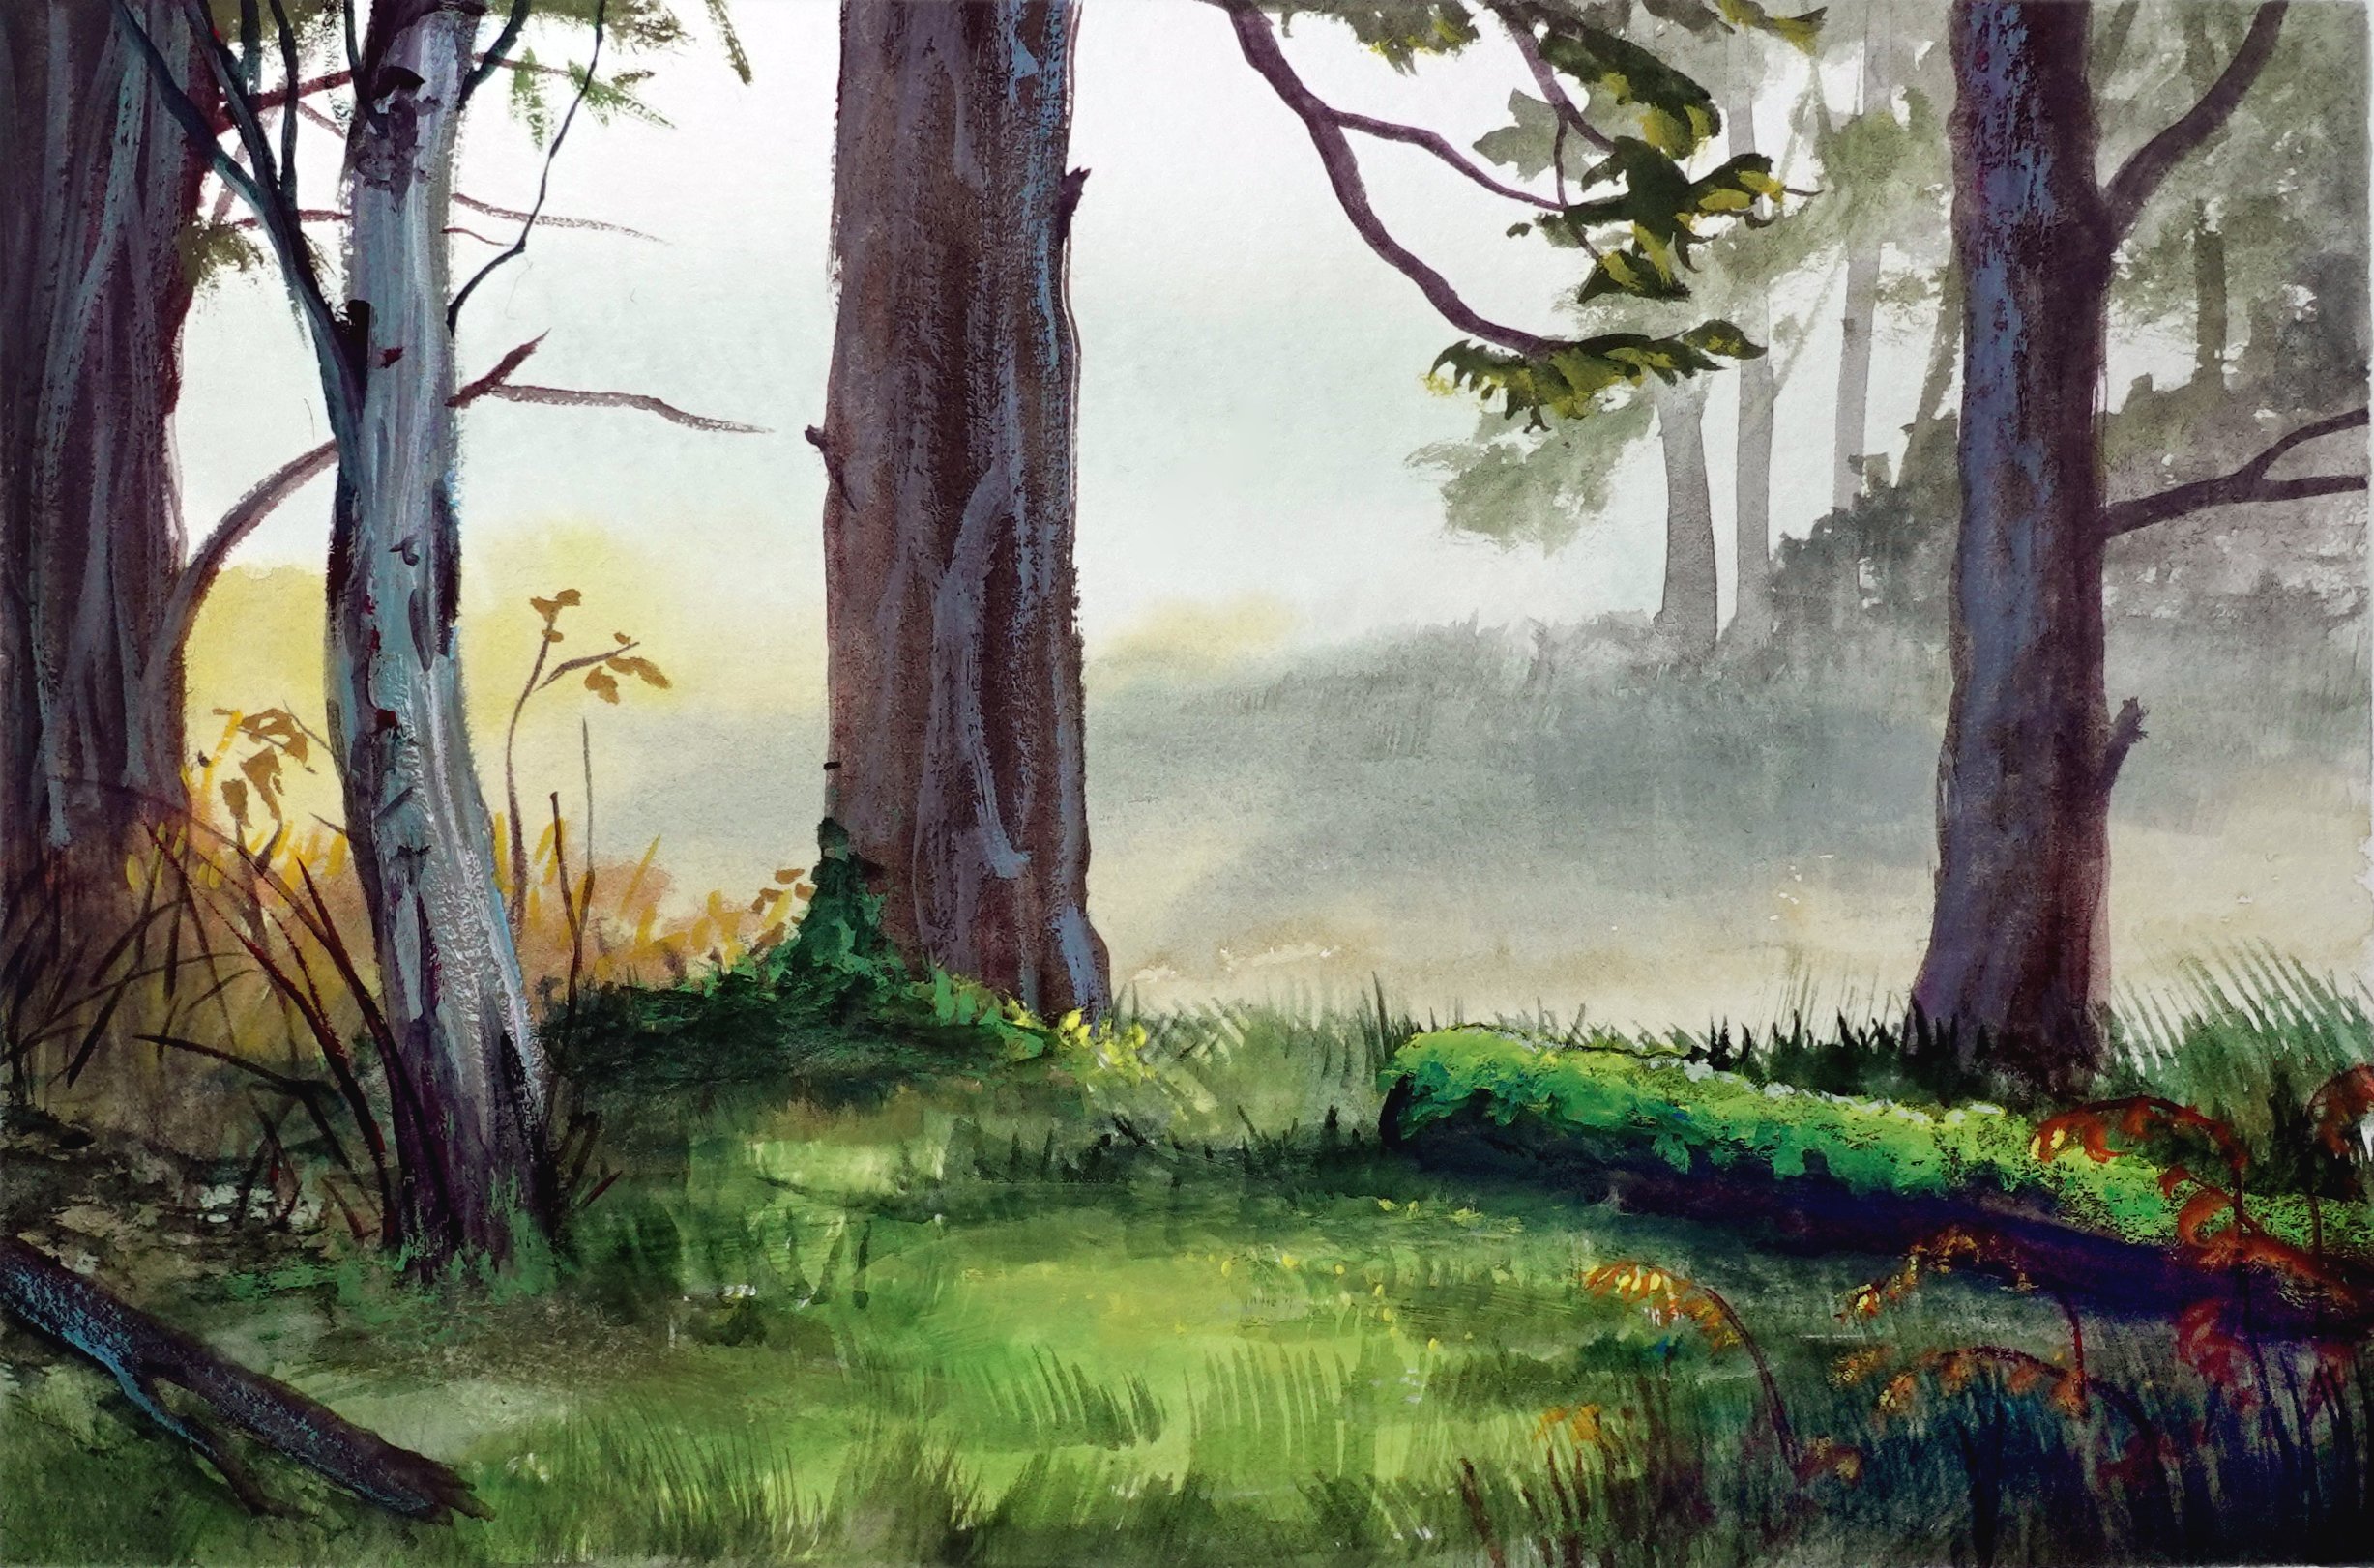
Paintalong #1: Forest Light (warm colors)
Paintalong #2: Seascape and Clouds
Paintalong #3: Mountain Lake
Paintalong #4: Forest and Creek
Paintalong #5: Seascape Sunset
Paintalong #6: Viewer Requests (4 paintings)
Paintalong #7: Mountains and Clouds
Paintalong #8: Forest Light (cool colors)
SAVE THE DATE!
Get your supplies ready, here comes another paintalong! This time we will be painting a watercolor forest! This is always a popular theme, because it's so much fun!
Find out more by reading the information on my Paintalong page.
I've been meaning to talk about my Paintalongs for a while now.
A paintalong is a live art tutorial (online) wherein I walk through a painting from start to finish, thoroughly discussing strategy and technique so that viewers can paint along with me!
I started doing monthly Paintalongs in July 2016. They quickly became a huge success and one of my favorite things to do on stream!
One of the best parts is that participants are sometimes brand new to watercolor, and they have told me it gave them the confidence to keep going and practice on their own. I'm so honored to be part of someone's artistic journey, whether it's inspiration, instruction, or general guidance.
After each paintalong I ask the participants to send me their final pieces and I make a collage of everyone's work.
Not only have I received amazing responses from participants, but I've also learned a TON by doing these paintalongs. I discovered that since I am not trained as a teacher, in order to explain things I'm forced to break down the process from a beginner point of view, which helps me to understand in more thoroughly. I learn so much while I'm explaining things. An unexpected bonus!
I also found that by planning for these paintalongs, I have learned a ton about marketing, what people are interesting in, what gets people hyped, and that it's possible to bridge the gap between having fun and being candid, and providing a structured "class" environment! There's no need to have a boring stuffy tutorial in order to product fantastic results. Let's hang out, paint together, and make something beautiful!
This all started as a Patreon milestone (if I reach a monthly pledge goal, I do monthly paintalongs). So far we have met the goal every month, so I continue to do them! To reward my Patreon support, I upload the Paintalong videos exclusively for my Patreon supporters (the videos are not available anywhere else). I always try to think of ways to return the love to those who support me!